4D Tesseract Visualizer
Crafted by Bob Bu · Spring 2025
Four dimensional geometry sounds abstract, but applying visualization and projection methods generalized from lower dimensions can be intuitive. This project draws a tesseract in Python using NumPy and Matplotlib. Points live in 4D with coordinates. Each frame the code rotates the shape in 4D and then projects it into a 3D view.
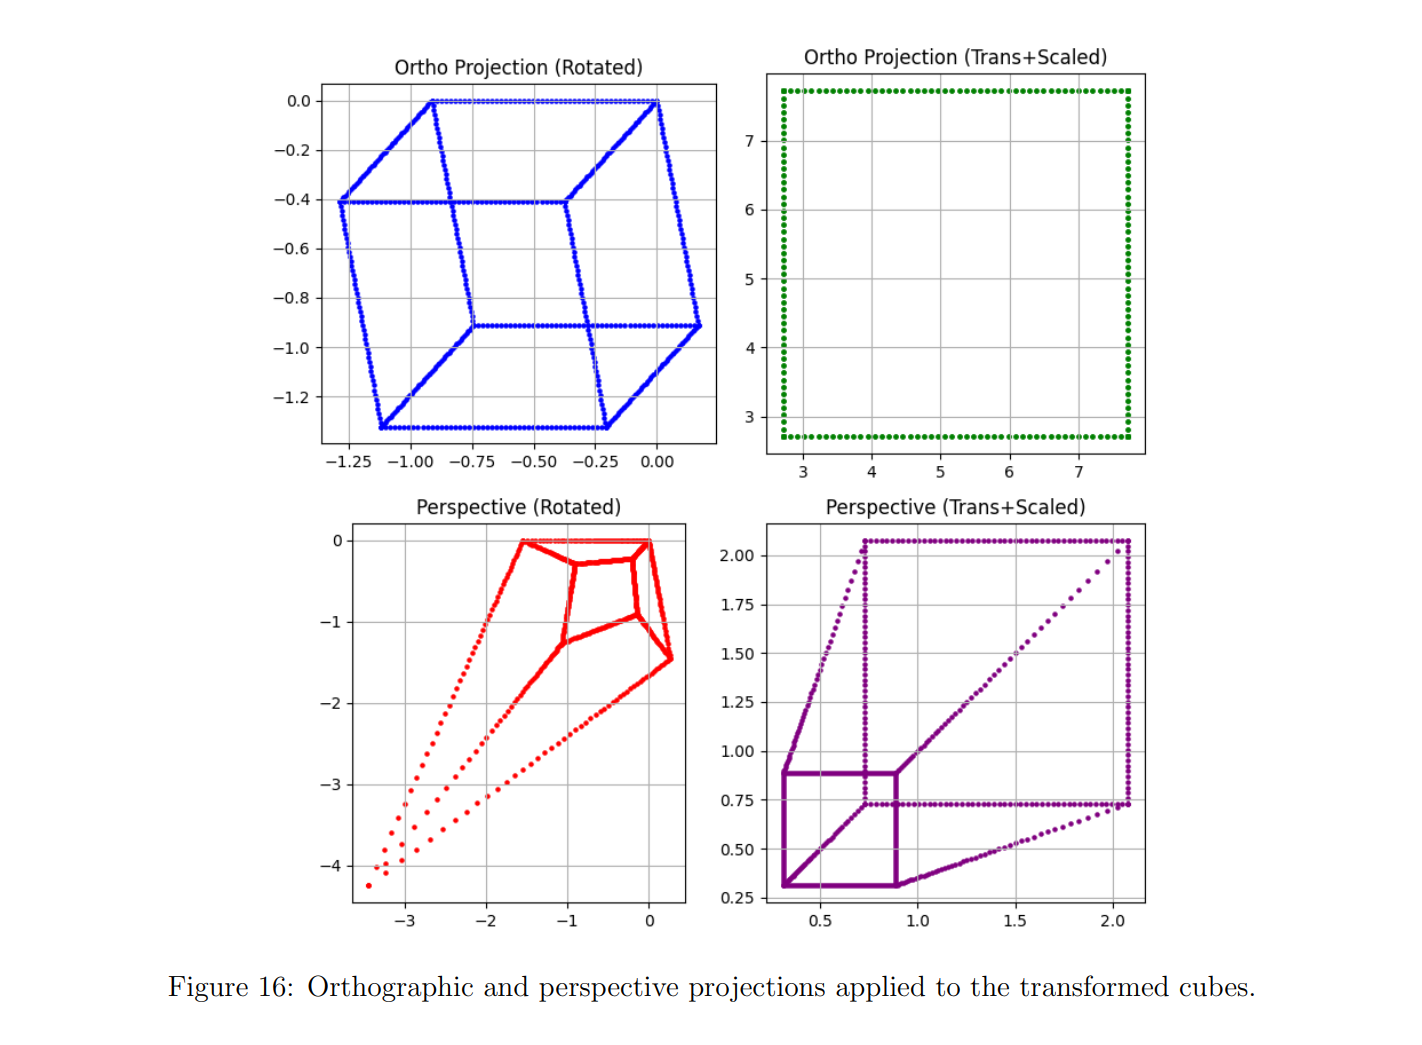
This figure shows a normal cube under orthographic and perspective projection. Orthographic uses a simple matrix that keeps and and drops , so size does not change with depth and parallel edges stay parallel. Perspective uses and a divide by , so distant points look smaller and edges tilt toward a vanishing point.
The tesseract code reuses that idea one dimension higher. For each rotated vertex the 4D to 3D perspective is
where is the focal length. A small clamp on keeps the picture stable when a point gets close to the camera.
The script first builds the vertices of the tesseract and the thirty two edges by pairing indices that differ in exactly one bit. Vertices are stored as columns in a NumPy array of shape .
Each animation frame updates two angles. One rotation happens in the plane, the other in the plane. The 4D rotation matrix is
Every edge is a one-line object. Line width and alpha follow slow sine curves in time, so the projected tesseract can vary its colors.
def rotation_4d(angle_xw, angle_yz):cxw = np.cos(angle_xw)sxw = np.sin(angle_xw)R_xw = np.eye(4, dtype=np.float32)R_xw[0, 0] = cxwR_xw[0, 3] = -sxwR_xw[3, 0] = sxwR_xw[3, 3] = cxwcyz = np.cos(angle_yz)syz = np.sin(angle_yz)R_yz = np.eye(4, dtype=np.float32)R_yz[1, 1] = cyzR_yz[1, 2] = -syzR_yz[2, 1] = syzR_yz[2, 2] = cyzreturn R_xw @ R_yzdef project_4d_to_3d(points_4d, focal=2.5):x, y, z, w = points_4ddenom = np.clip(focal - w, 0.01, None)X = x / denomY = y / denomZ = z / denomreturn np.vstack((X, Y, Z))
This block is the core of the visual. Rotation mixes the and planes. Projection turns the result into three coordinates for display. NumPy carries the linear algebra, and Matplotlib handles the camera and the dark background.
Initialization sets up the vertices and edges, builds the figure, and creates one line per edge. FuncAnimation calls the update function each frame, so the cube keeps spinning without a manual loop. To try it yourself you only need a recent Python interpreter and a normal desktop backend.
University of Alberta · Edmonton, AB, Canada